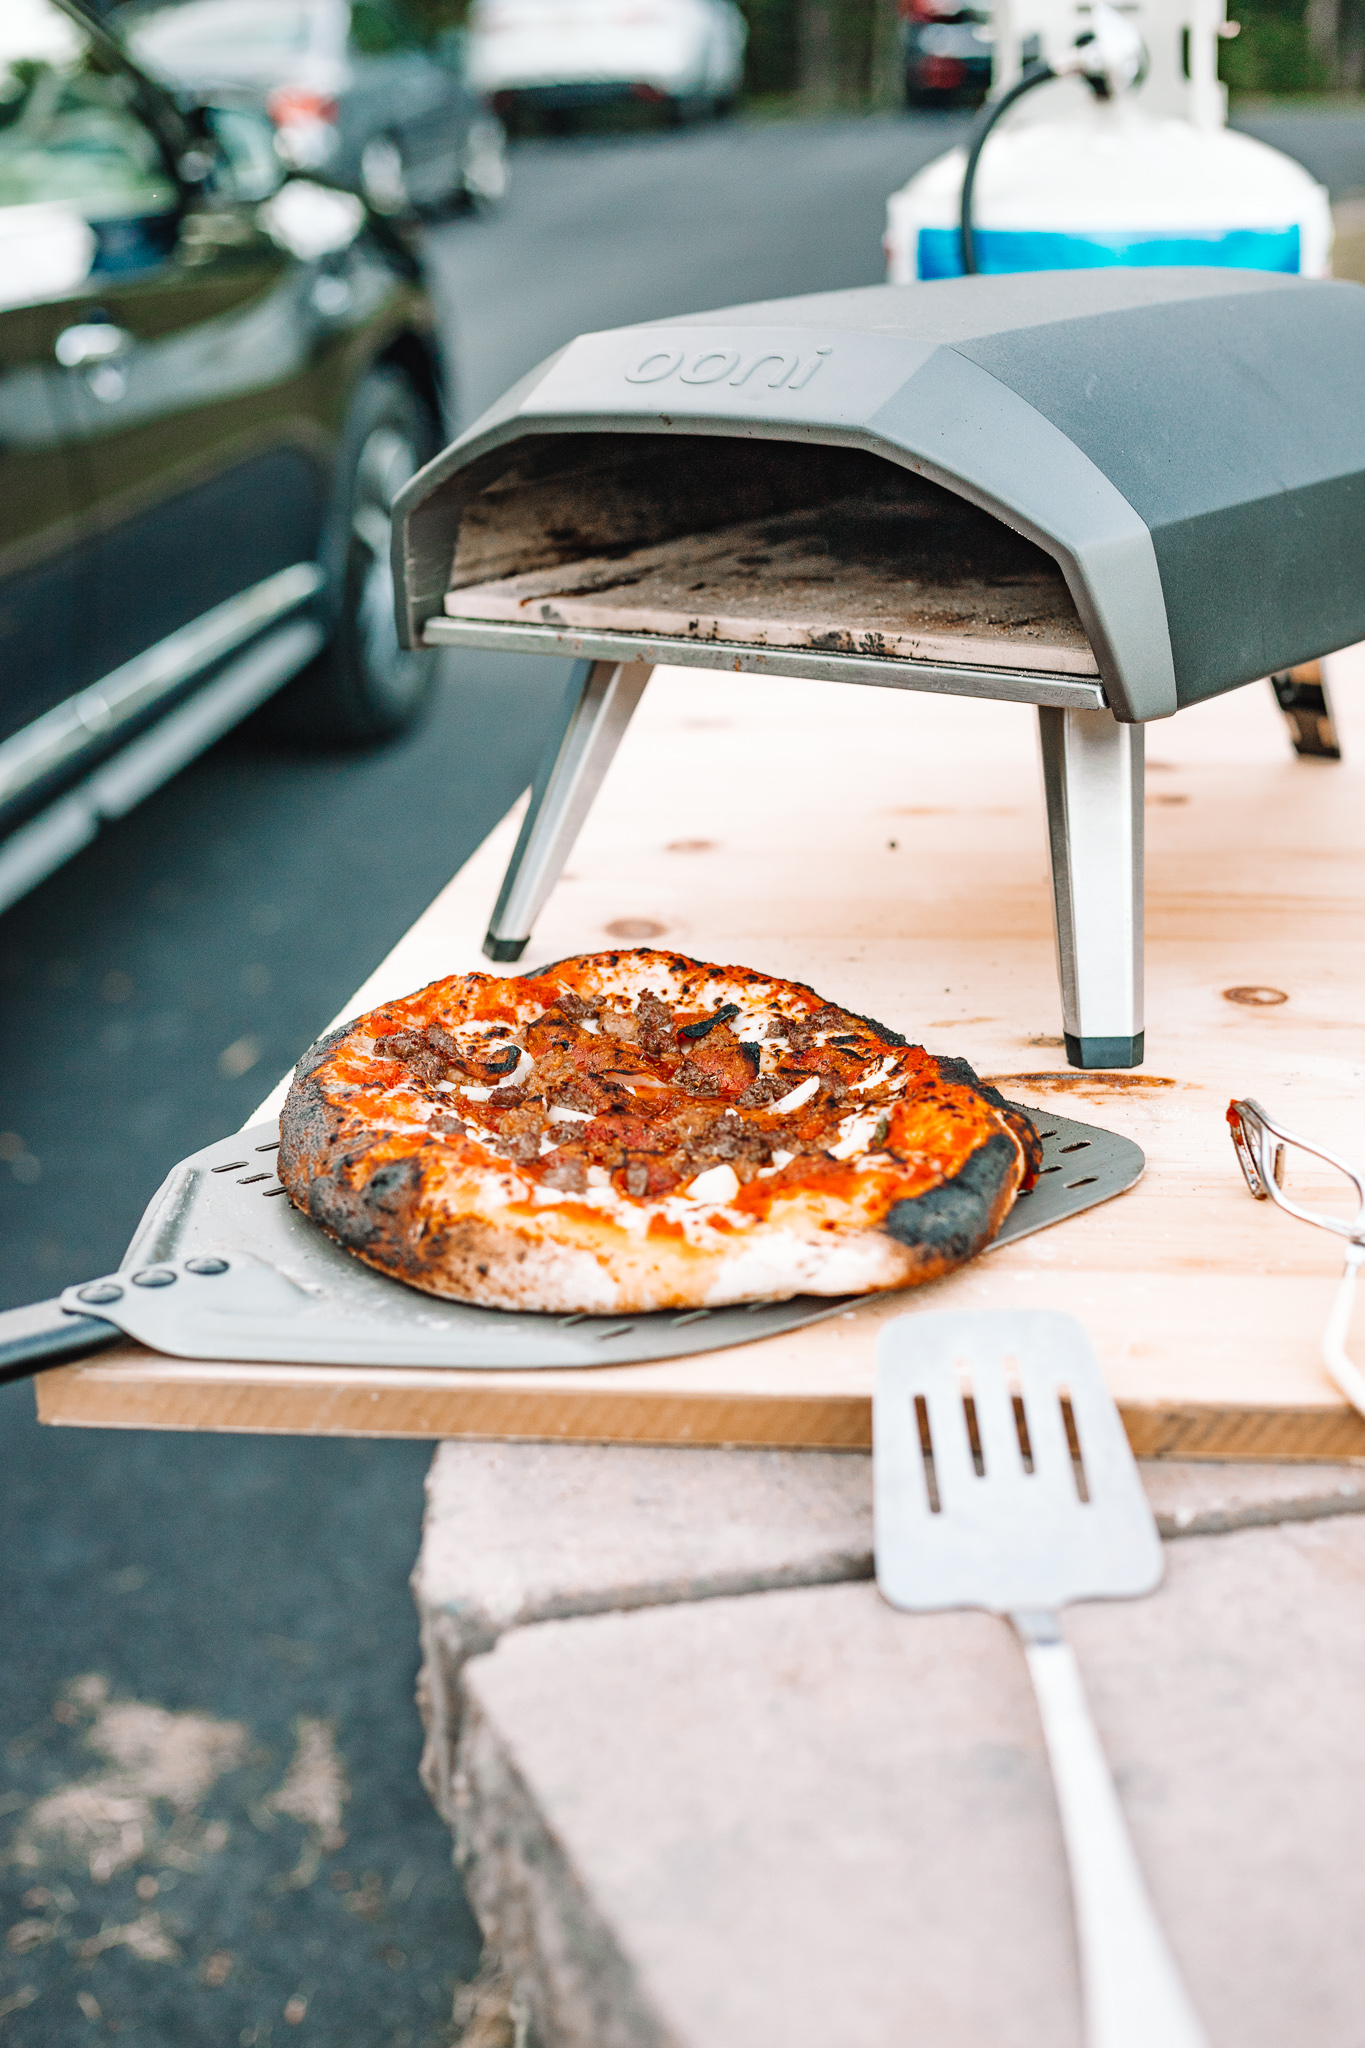
For the past 6 months, Geoff and I have been obsessed with our Ooni Koda 12 pizza oven that I got him for Christmas. I’m excited to share a full review with you today, so let’s dive right into it! So, what exactly is the Ooni Koda 12? It’s a gas-powered pizza oven that gives you restaurant-quality pizza right at home. It tastes just like brick oven pizza, is super simple to use, and cooks the pizza in just a few minutes. Yes, really.
How Does the Ooni Koda 12 Work?
We have the Ooni Koda 12 Gas Powered Pizza Oven which creates 12″ pizzas. It fits in just about any outdoor space and is only 20 pounds. There’s no assembly required, I repeat, no assembly required. 🙏🏻 Thank goodness. All you have to do is take the Ooni Koda out of the box, unfold its legs, then insert the stone baking board and connect to gas. It comes with all of the equipment you need to hook it up to your own gas – the same gas you use for a standard sized grill. However, it can also connect to the smaller sized gas containers if you purchase their adapter. Also, I recommend this carrying case and cover (sold separately) for storing the pizza oven. We keep ours in our car’s trunk. Boston life, baby 😂 .
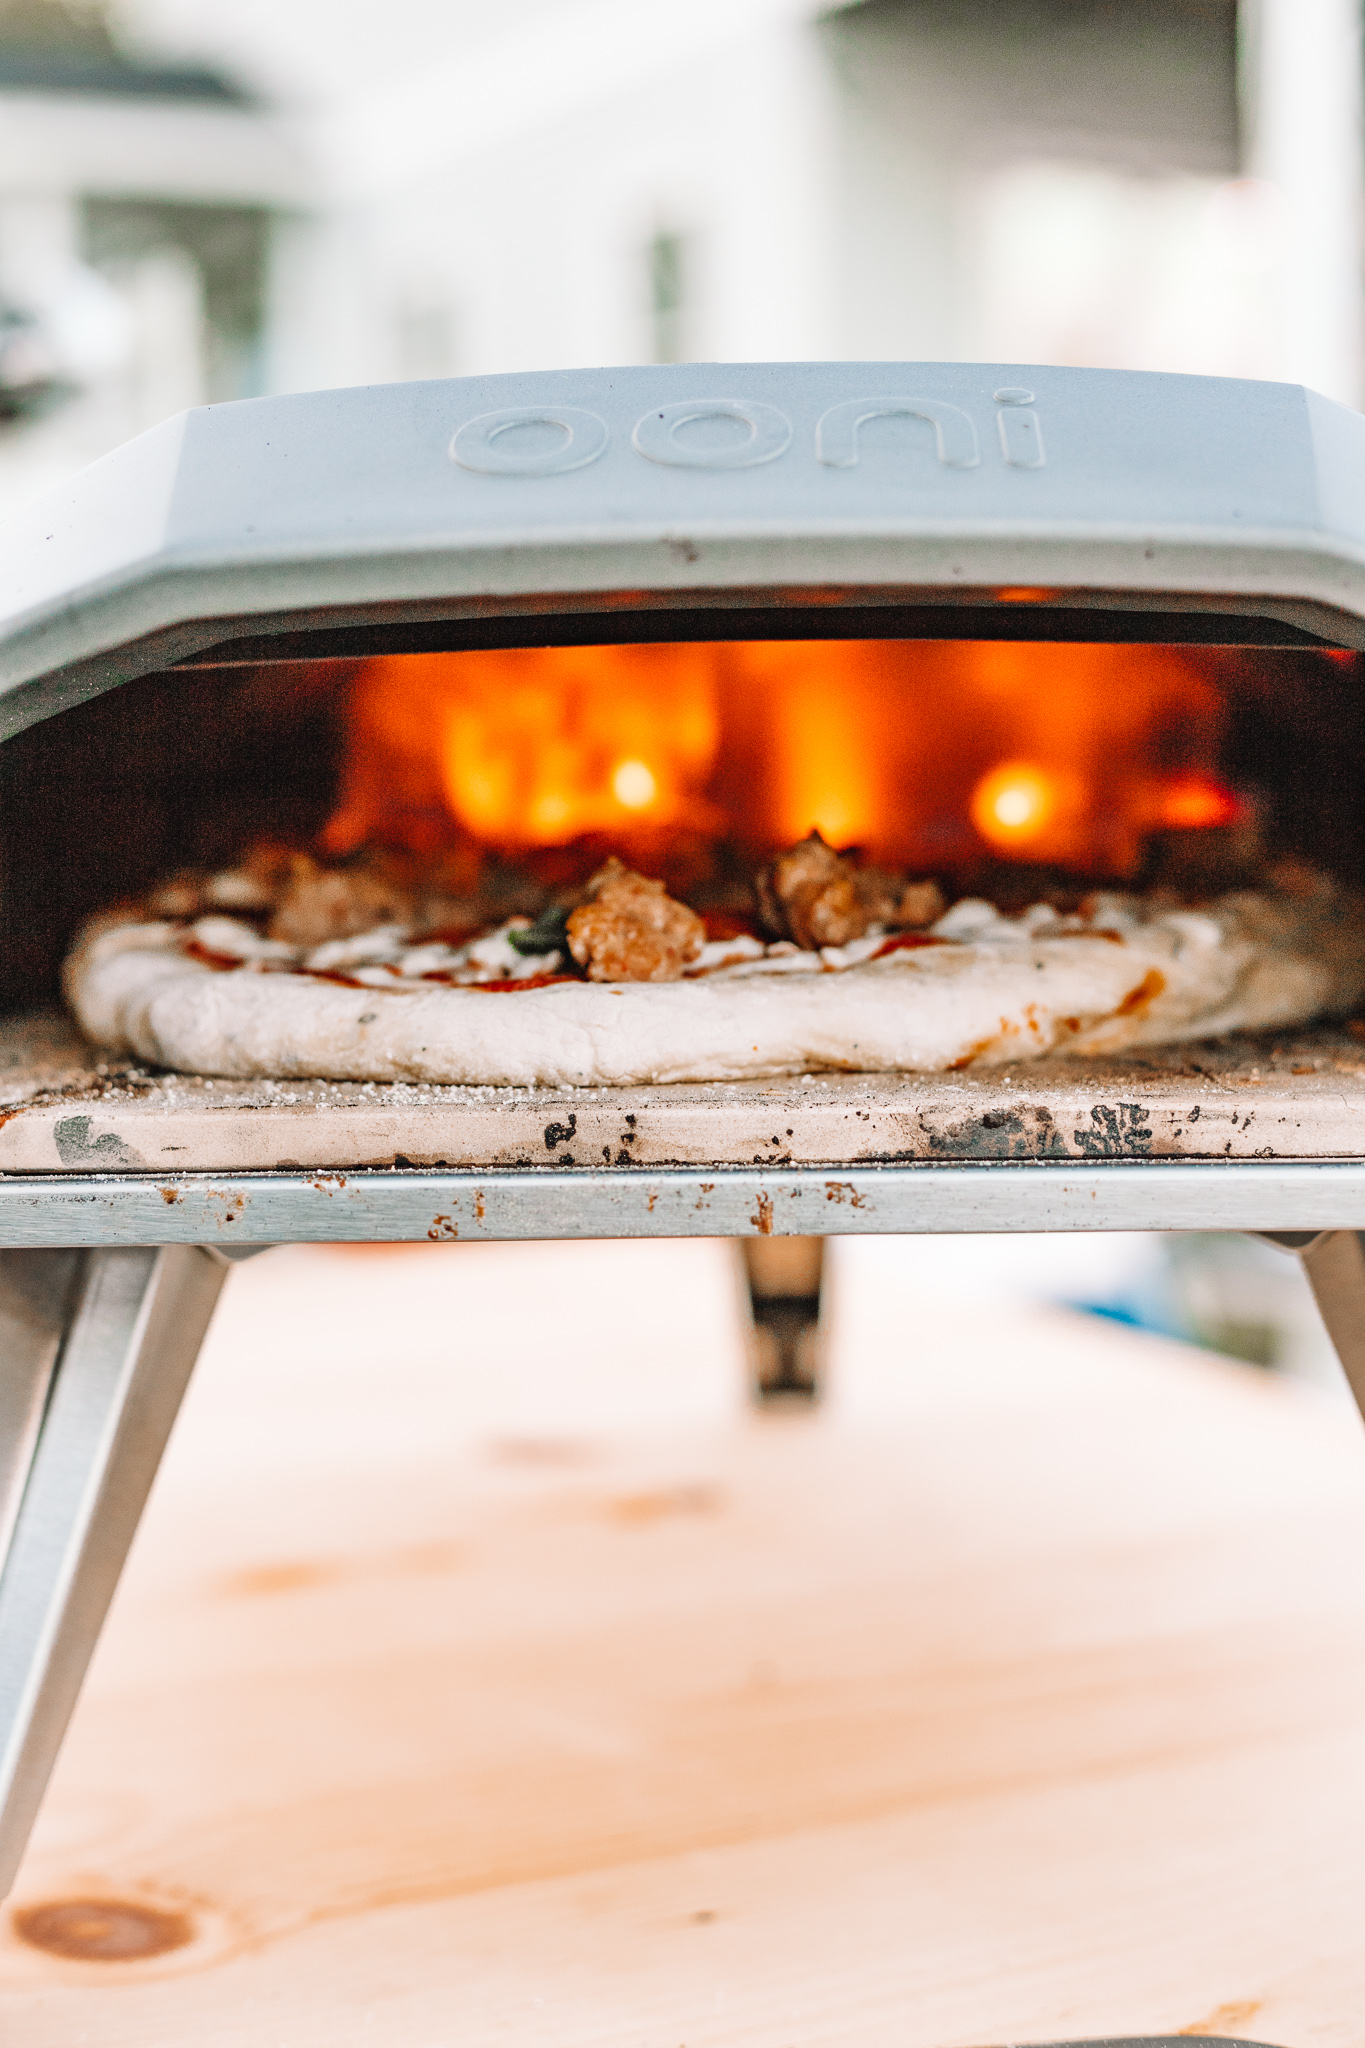
The temperature reaches 950 degrees Fahrenheit and is completely adjustable. It’s worth noting that you can cook items other than pizza as well – we think of it as our own mini brick oven (even though it’s obviously not made of bricks lol). We’ve cooked garlic shrimp in it as well and are excited to try steaks, chicken, and fish as well.
Cooking Pizza In the Ooni Koda 12
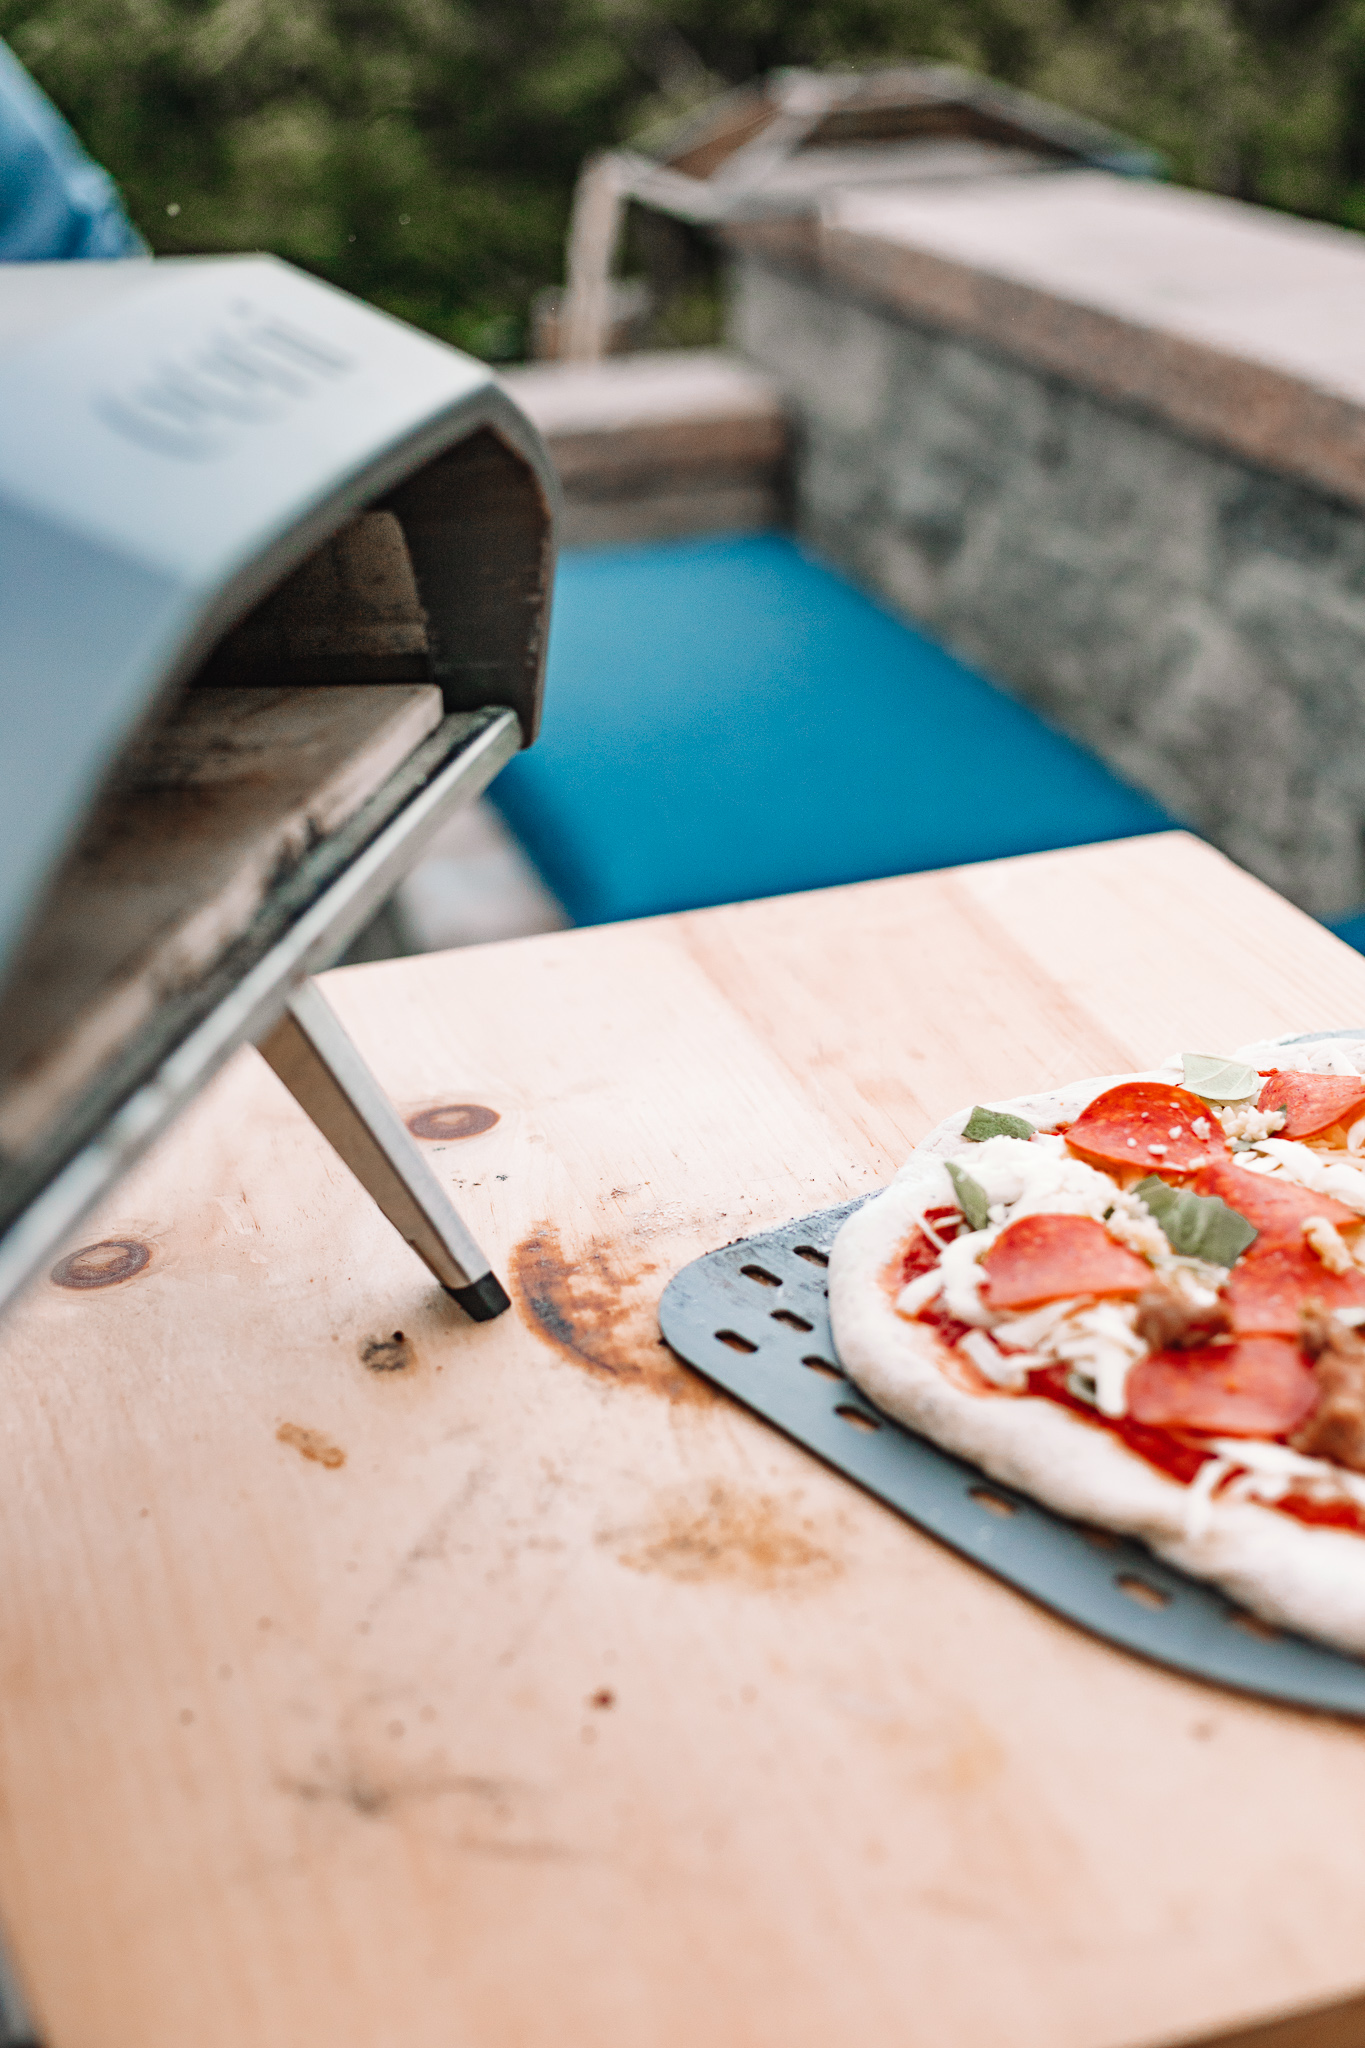
Once your Ooni Koda is set up, I recommend placing it on a wooden table or even a cement or stainless steel surface. We haven’t had issues with it burning the surface underneath the oven, but I would probably caution you against setting it up on plastic or any surface you really care about. You’ll definitely want it on a raised surface like a table vs. it being on the ground. It’s more challenging to put the pizza in the oven and take it out if it’s low to the ground. You then let the Ooni Koda preheat for about 15 minutes. Ooni does sell their own tables here but I really think you can make it work with something you own already!
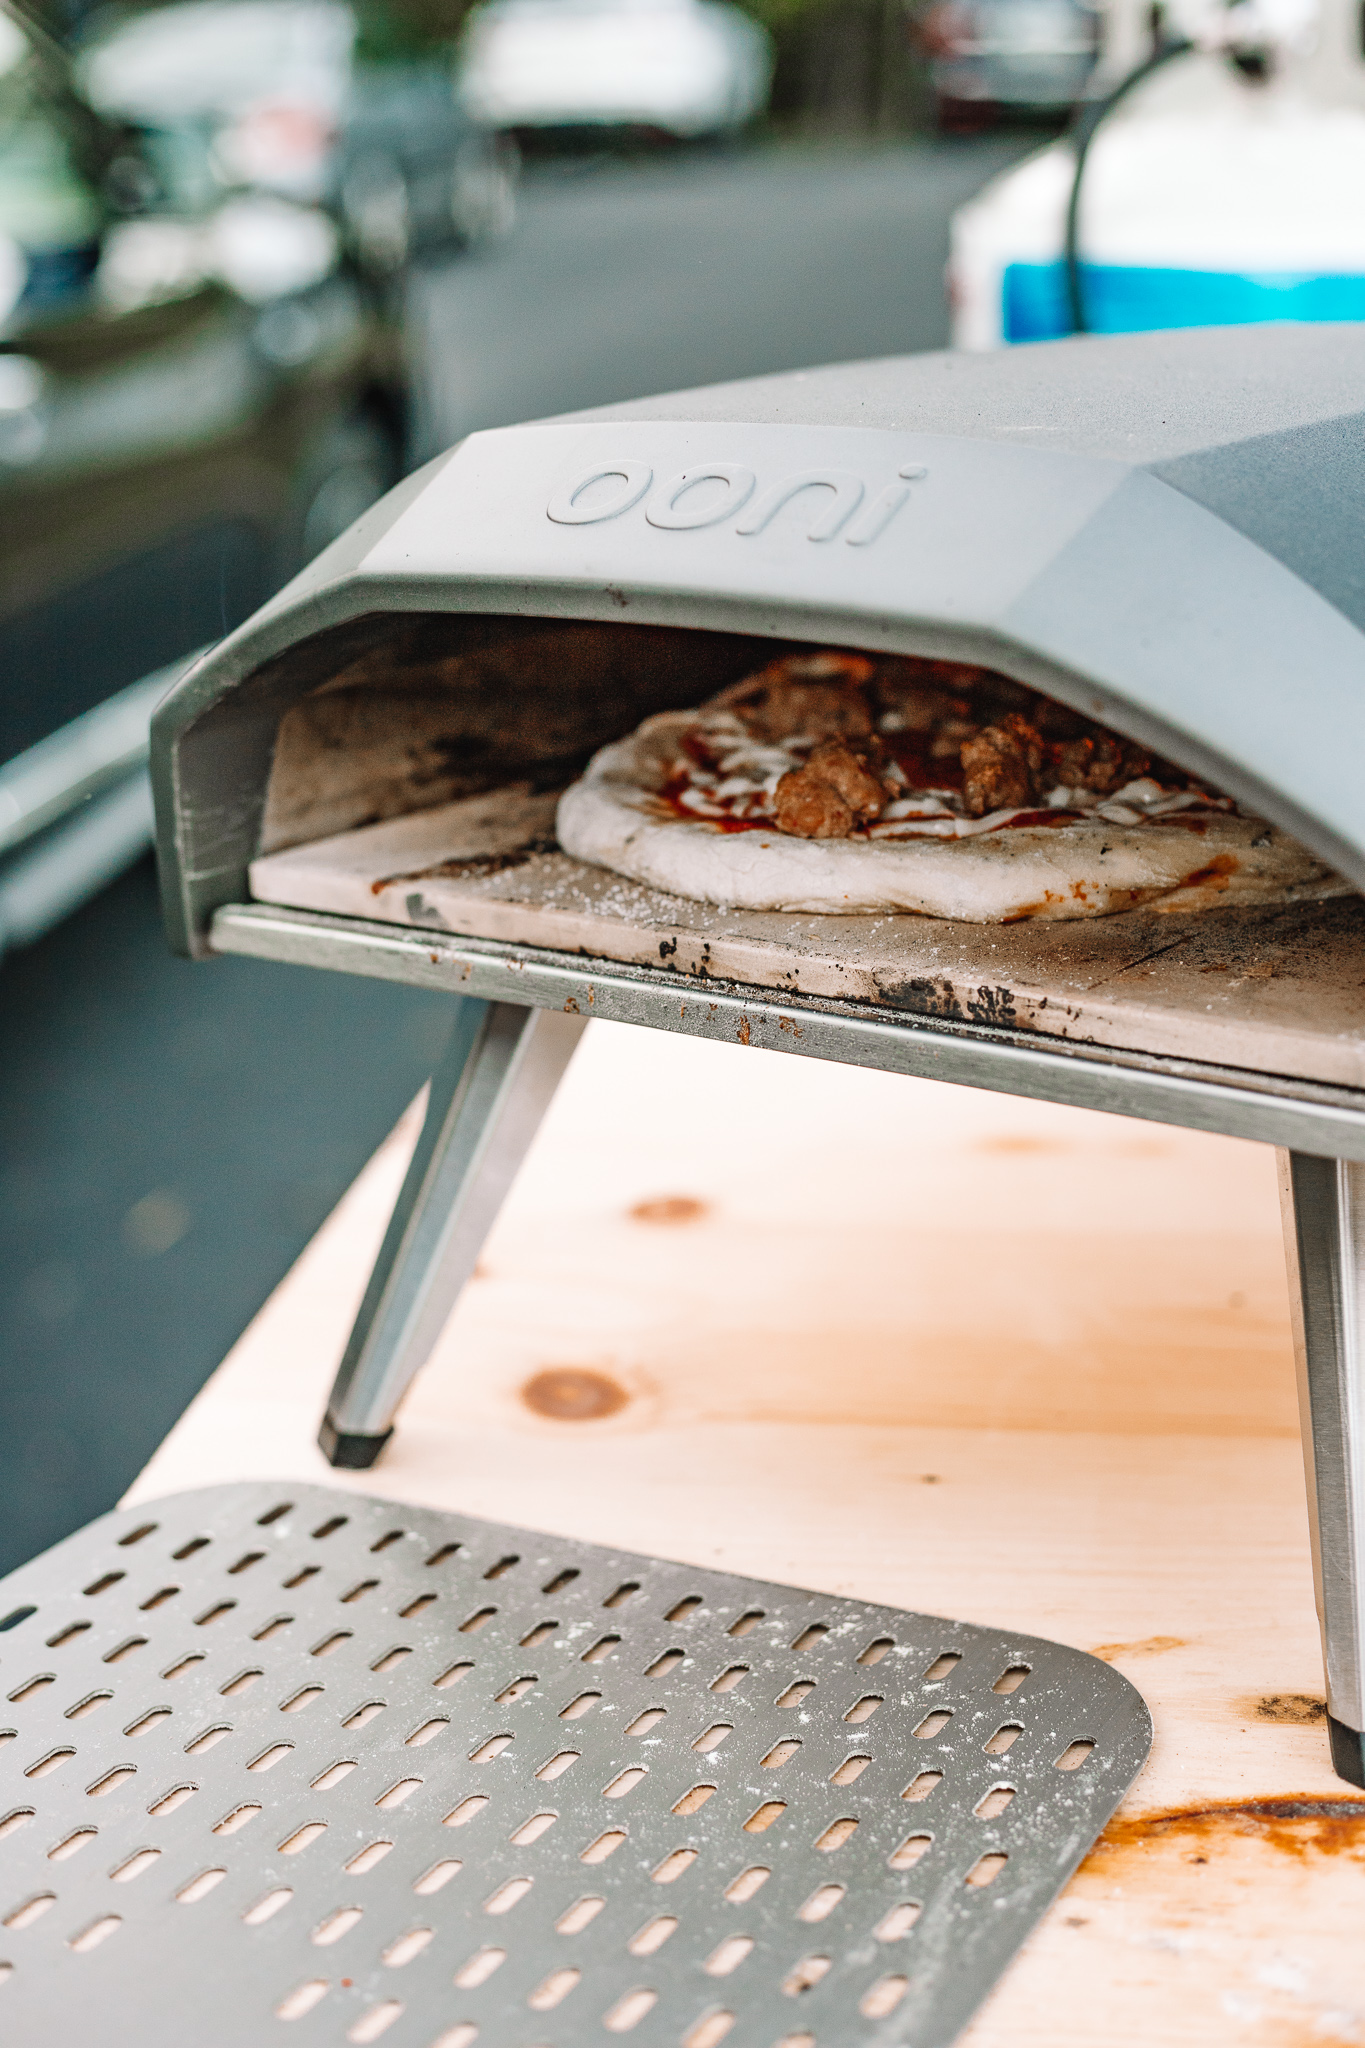
Cooking your pizza in the Ooni Koda is extremely fast. We typically put the pizza in the oven and set a timer for 45 seconds. We then take the pizza out with the pizza peel and turn it completely around so that the darkest crust side is now at the front. Then set a timer for another 45 seconds. For the last couple sides, we usually set a timer for 15 seconds each. We’ve found that it’s easiest to turn your pizza by pulling it completely out with the pizza peel and then putting it back in vs. trying to turn it when it’s in the oven.
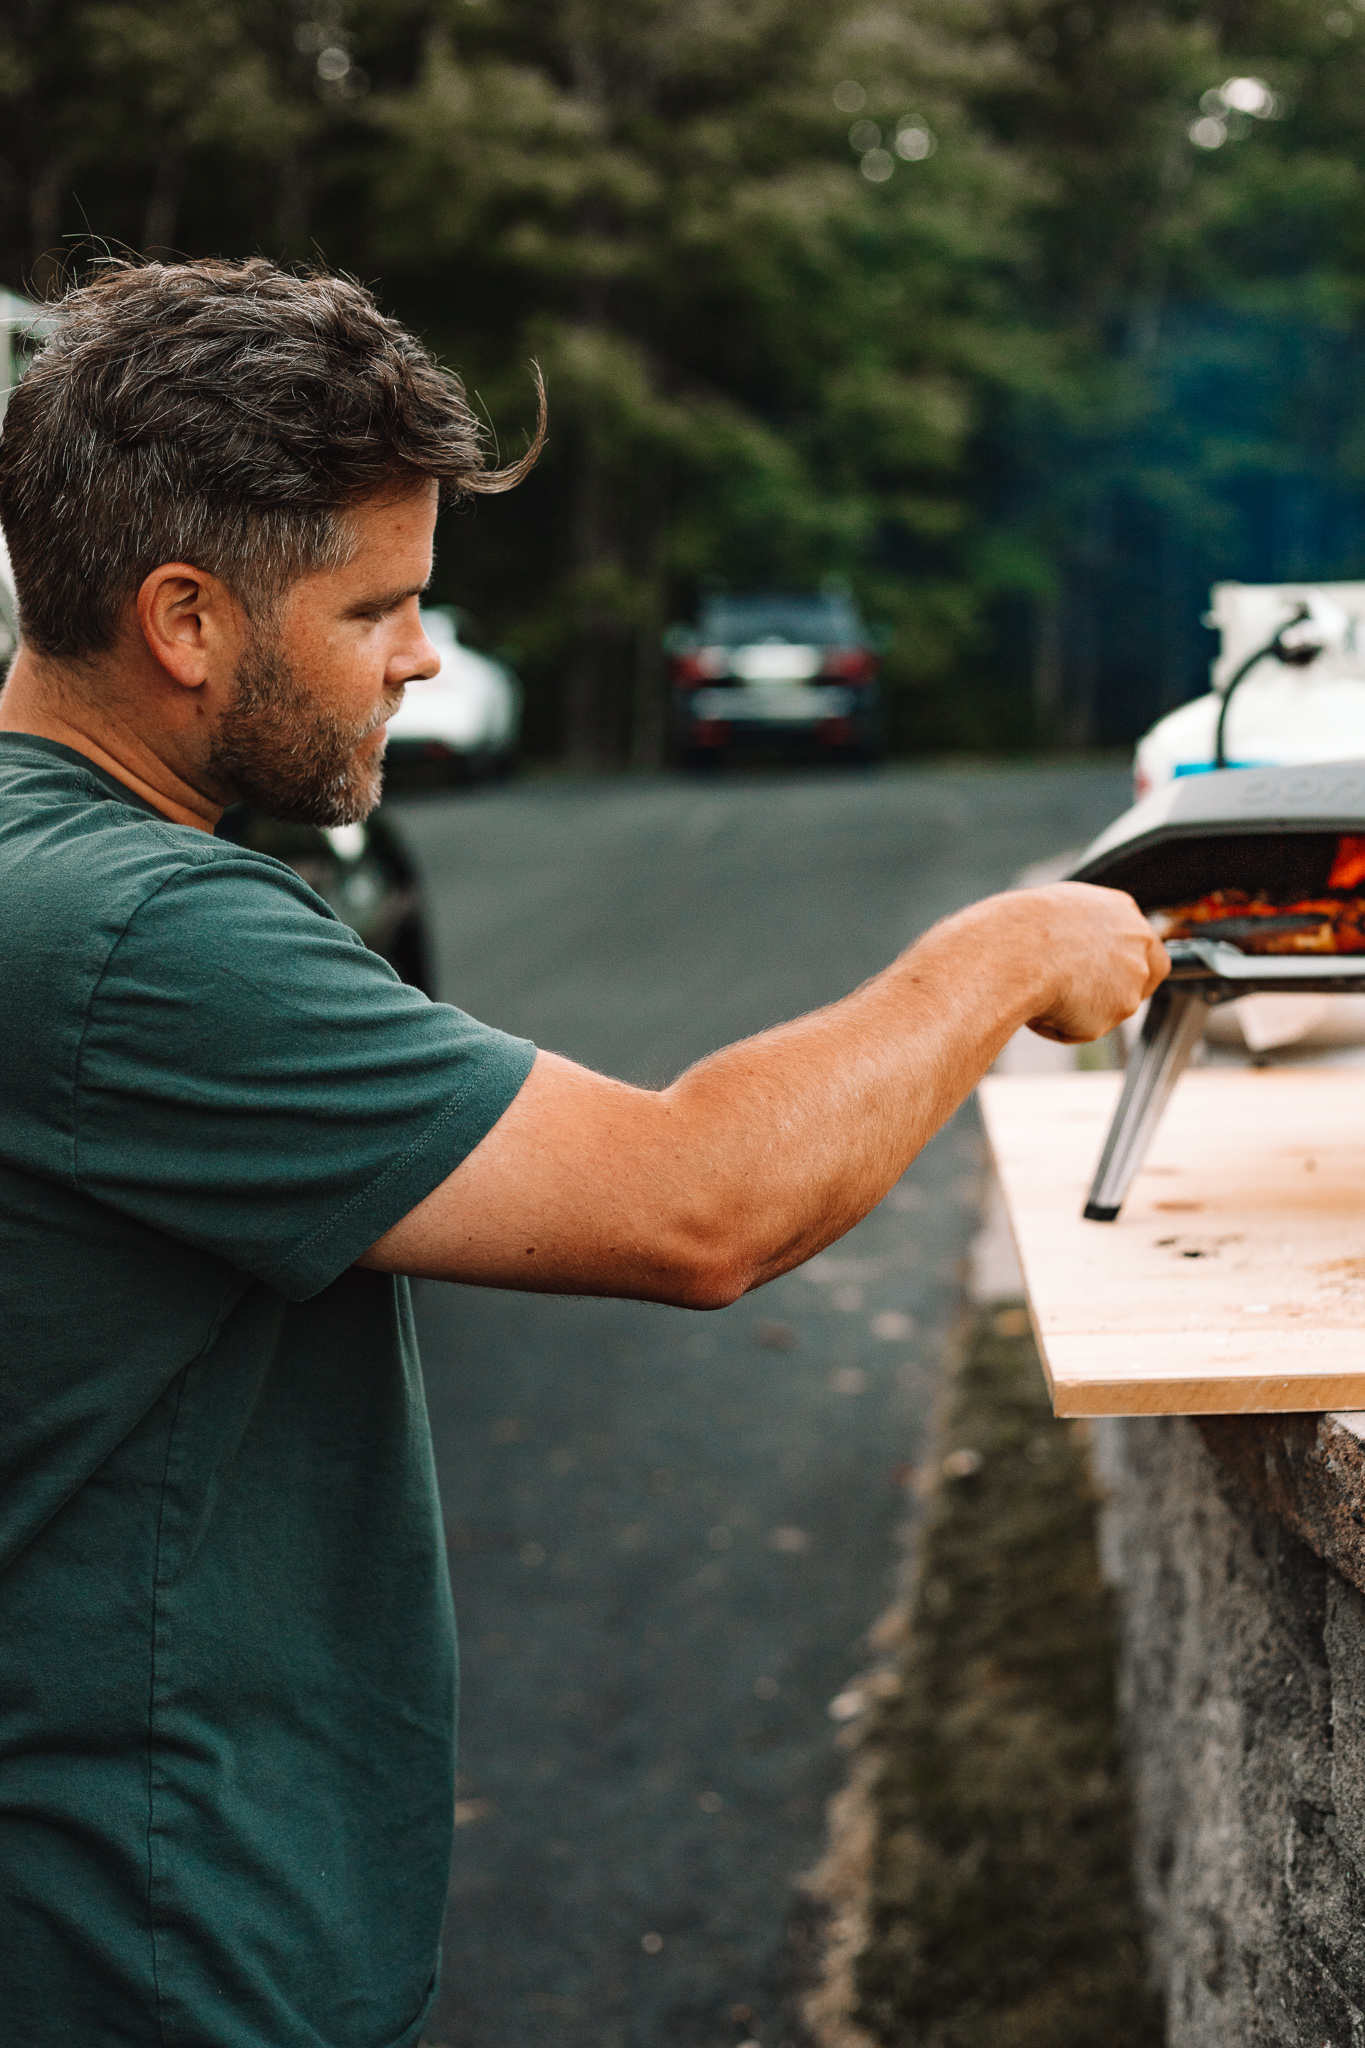
Tips & Tricks We’ve Learned
The pizza oven really does need to preheat for 15 minutes. We’ve tried 10 minutes before and the bottom of the crust didn’t get the desired crispy texture that we all love.
Sauté your vegetables before adding to the pizza. We’ve noticed that vegetables such as bell pepper and onion can leave you with a bit of water on top of your pizza after cooking since your pizza is done but it’s not quite cooking the vegetables as much as they need to be cooked.
The temperature of the Ooni Koda is completely adjustable – we’re still learning the ideal temperatures to cook at – especially items other than pizza such as shrimp, chicken, steak, etc.
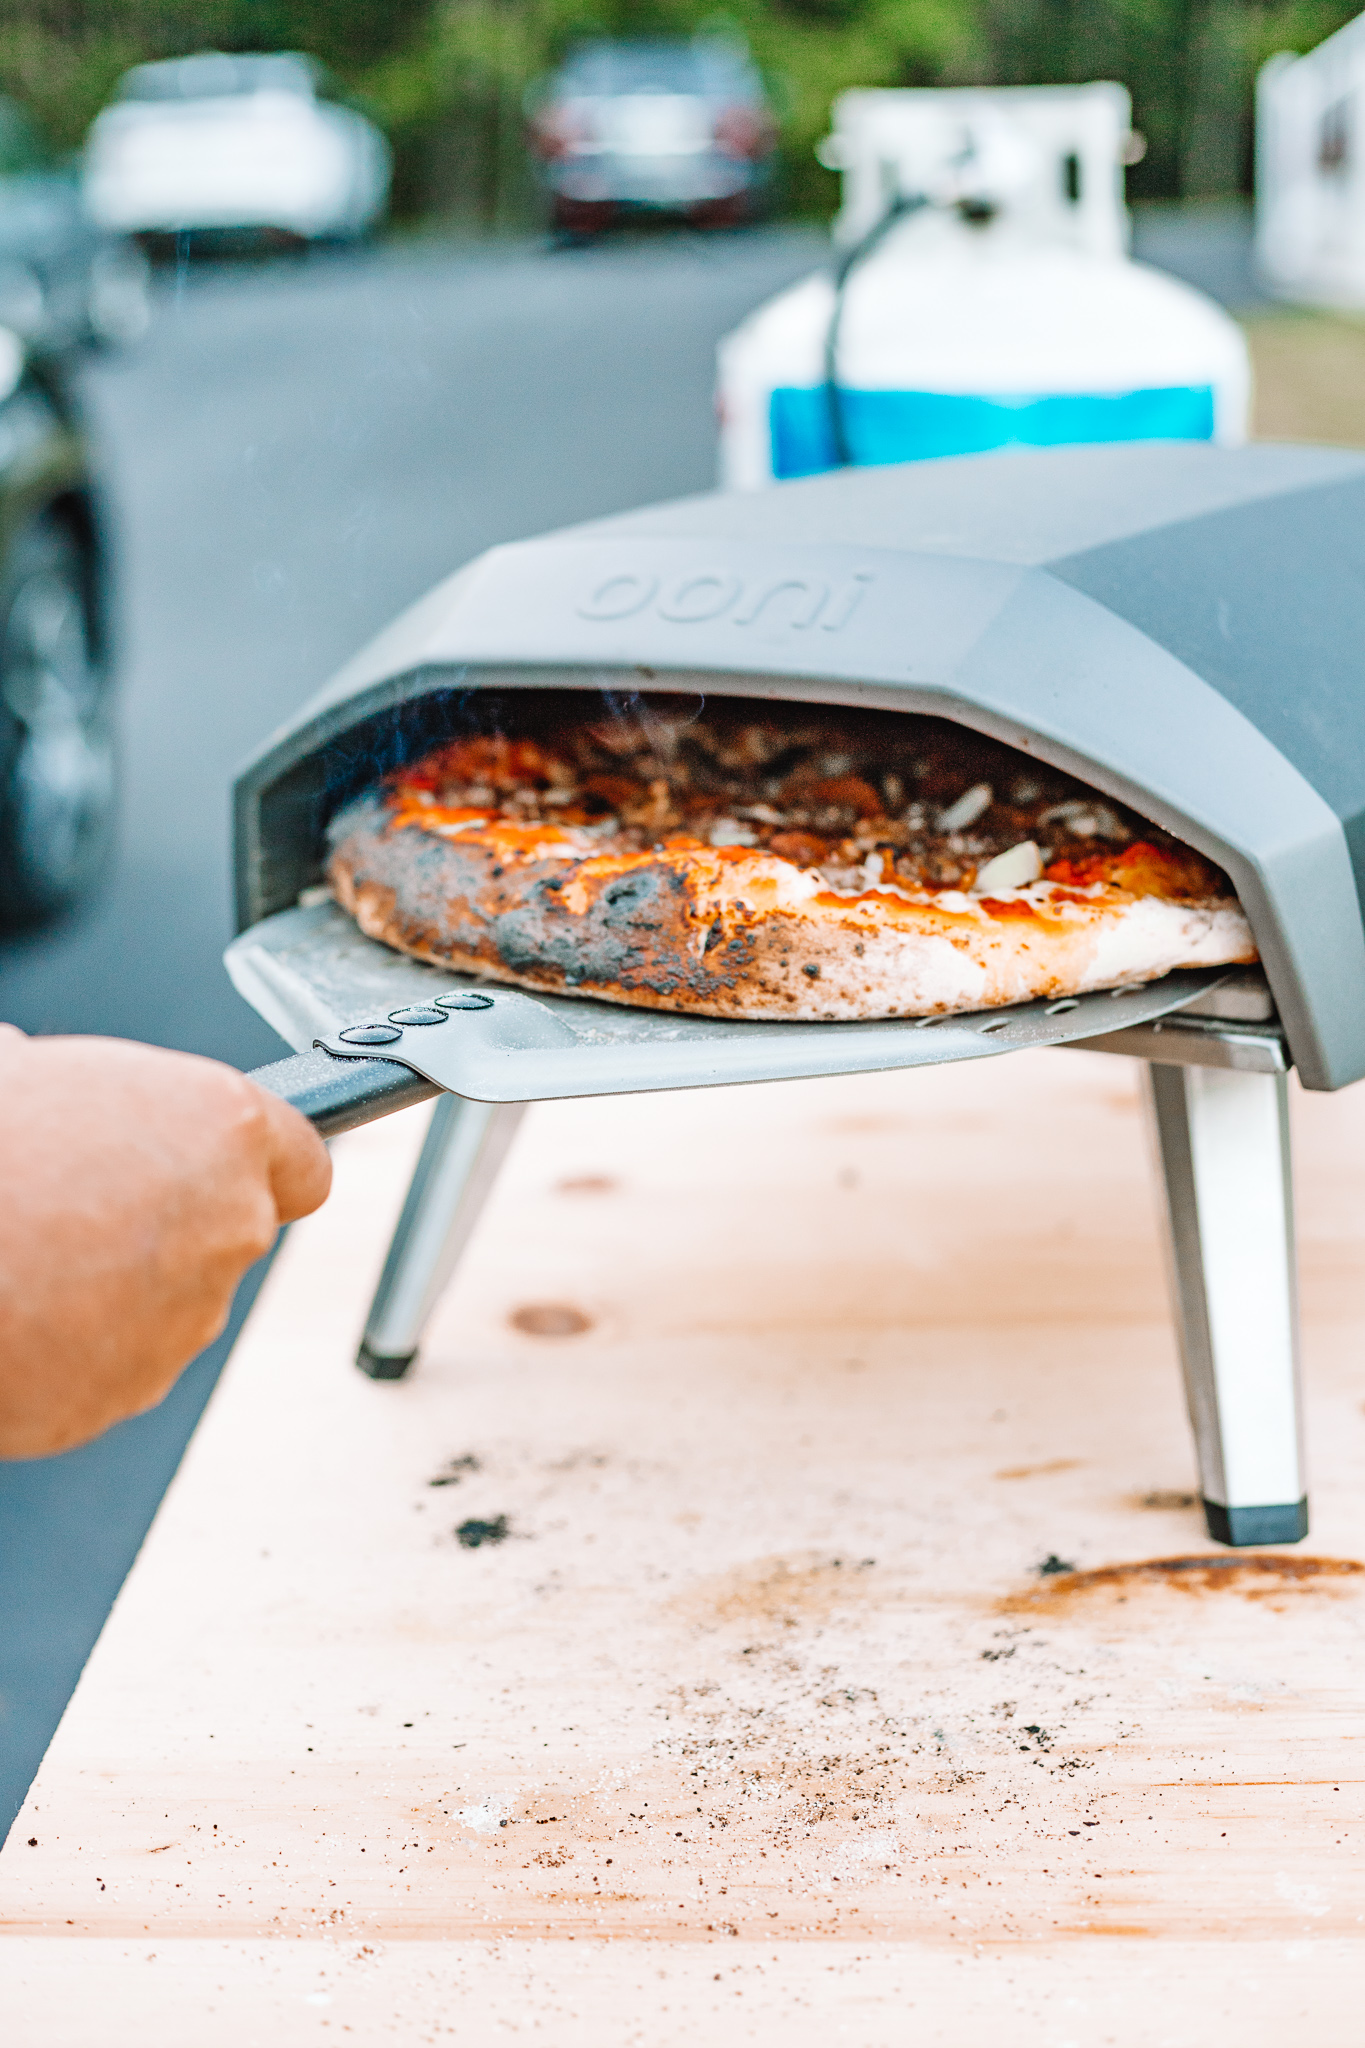
Add more cheese to your pizza than you’d think. Trust me.
If you buy store-bought pizza dough, leave it out of the fridge for about two hours before creating your pizza crust. We’ve found that anything less than two hours makes the pizza dough less stretchy (it will keep bouncing back and results in a smaller, thicker pizza crust). Also, anything longer than two hours out of the fridge makes the pizza dough a little bit too warm and then you have the opposite problem.
When building your pizzas, lightly flour your pizza peel. Then add your already pressed out pizza dough to the pizza peel. From there, add sauce, cheese, toppings, etc. with the pizza on the pizza peel. Reason being that it can be difficult to transfer your pizza from the surface you’re making it on to the pizza peel (the toppings shift all over).
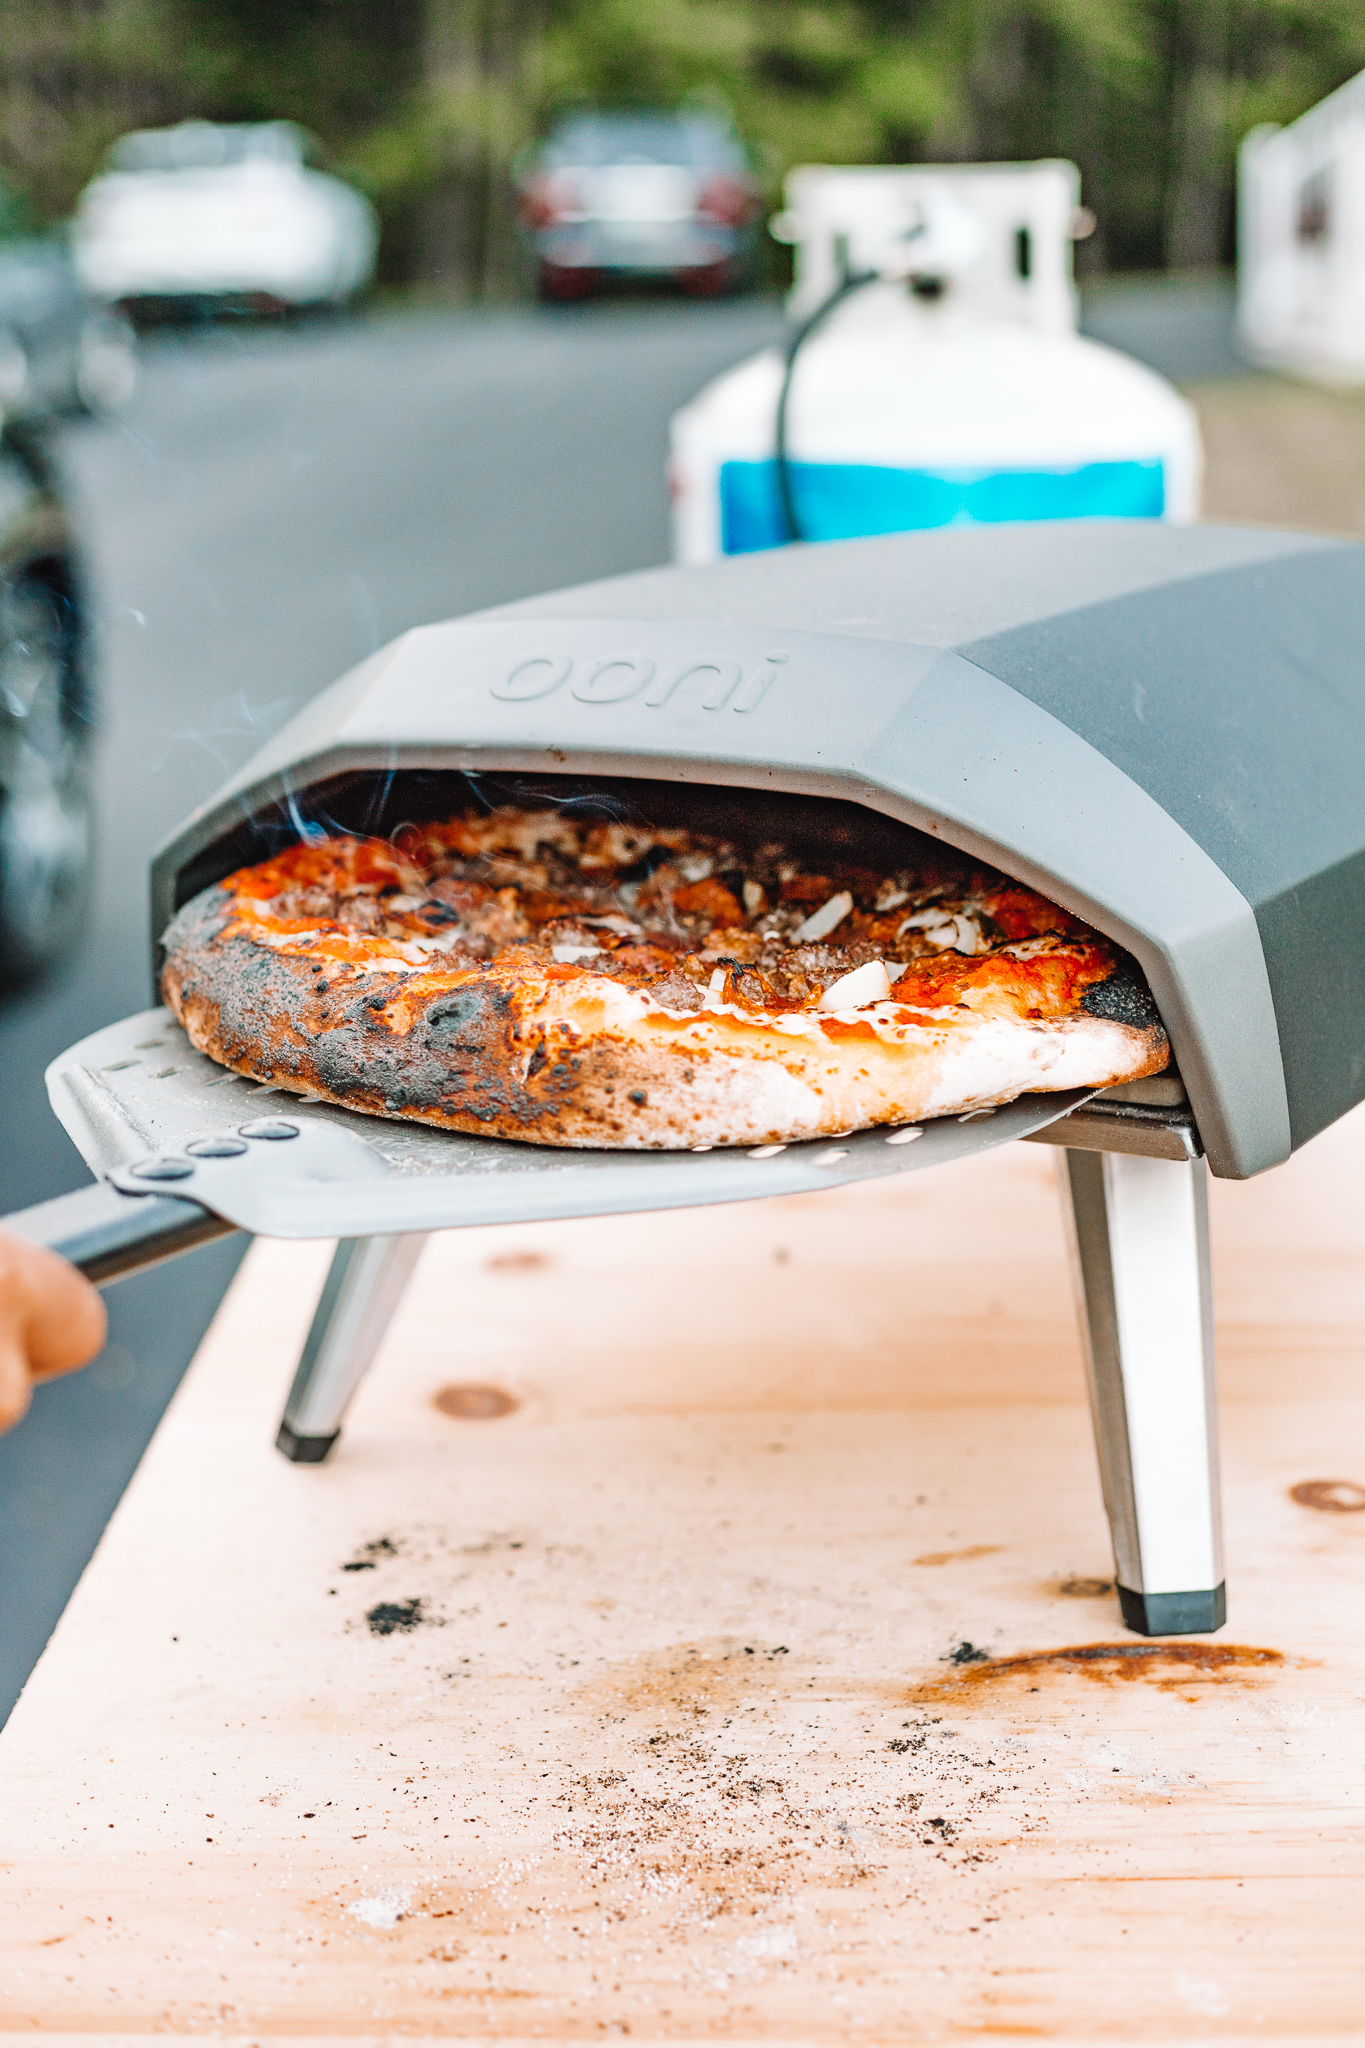
I said this above, but it’s worth saying again. When turning your pizza, pull the pizza completely out of the oven with the pizza peel and turn vs. trying to turn it in the pizza oven.
Tongs like these are very helpful for when you need to turn the pizza after pulling it out with the peel.
Having a second pizza peel is well worth it because someone can build the next pizza while someone else is cooking the first pizza. Otherwise, you have to wait till the first pizza is done cooking and the person cooking is done with the pizza peel to cook your next one.
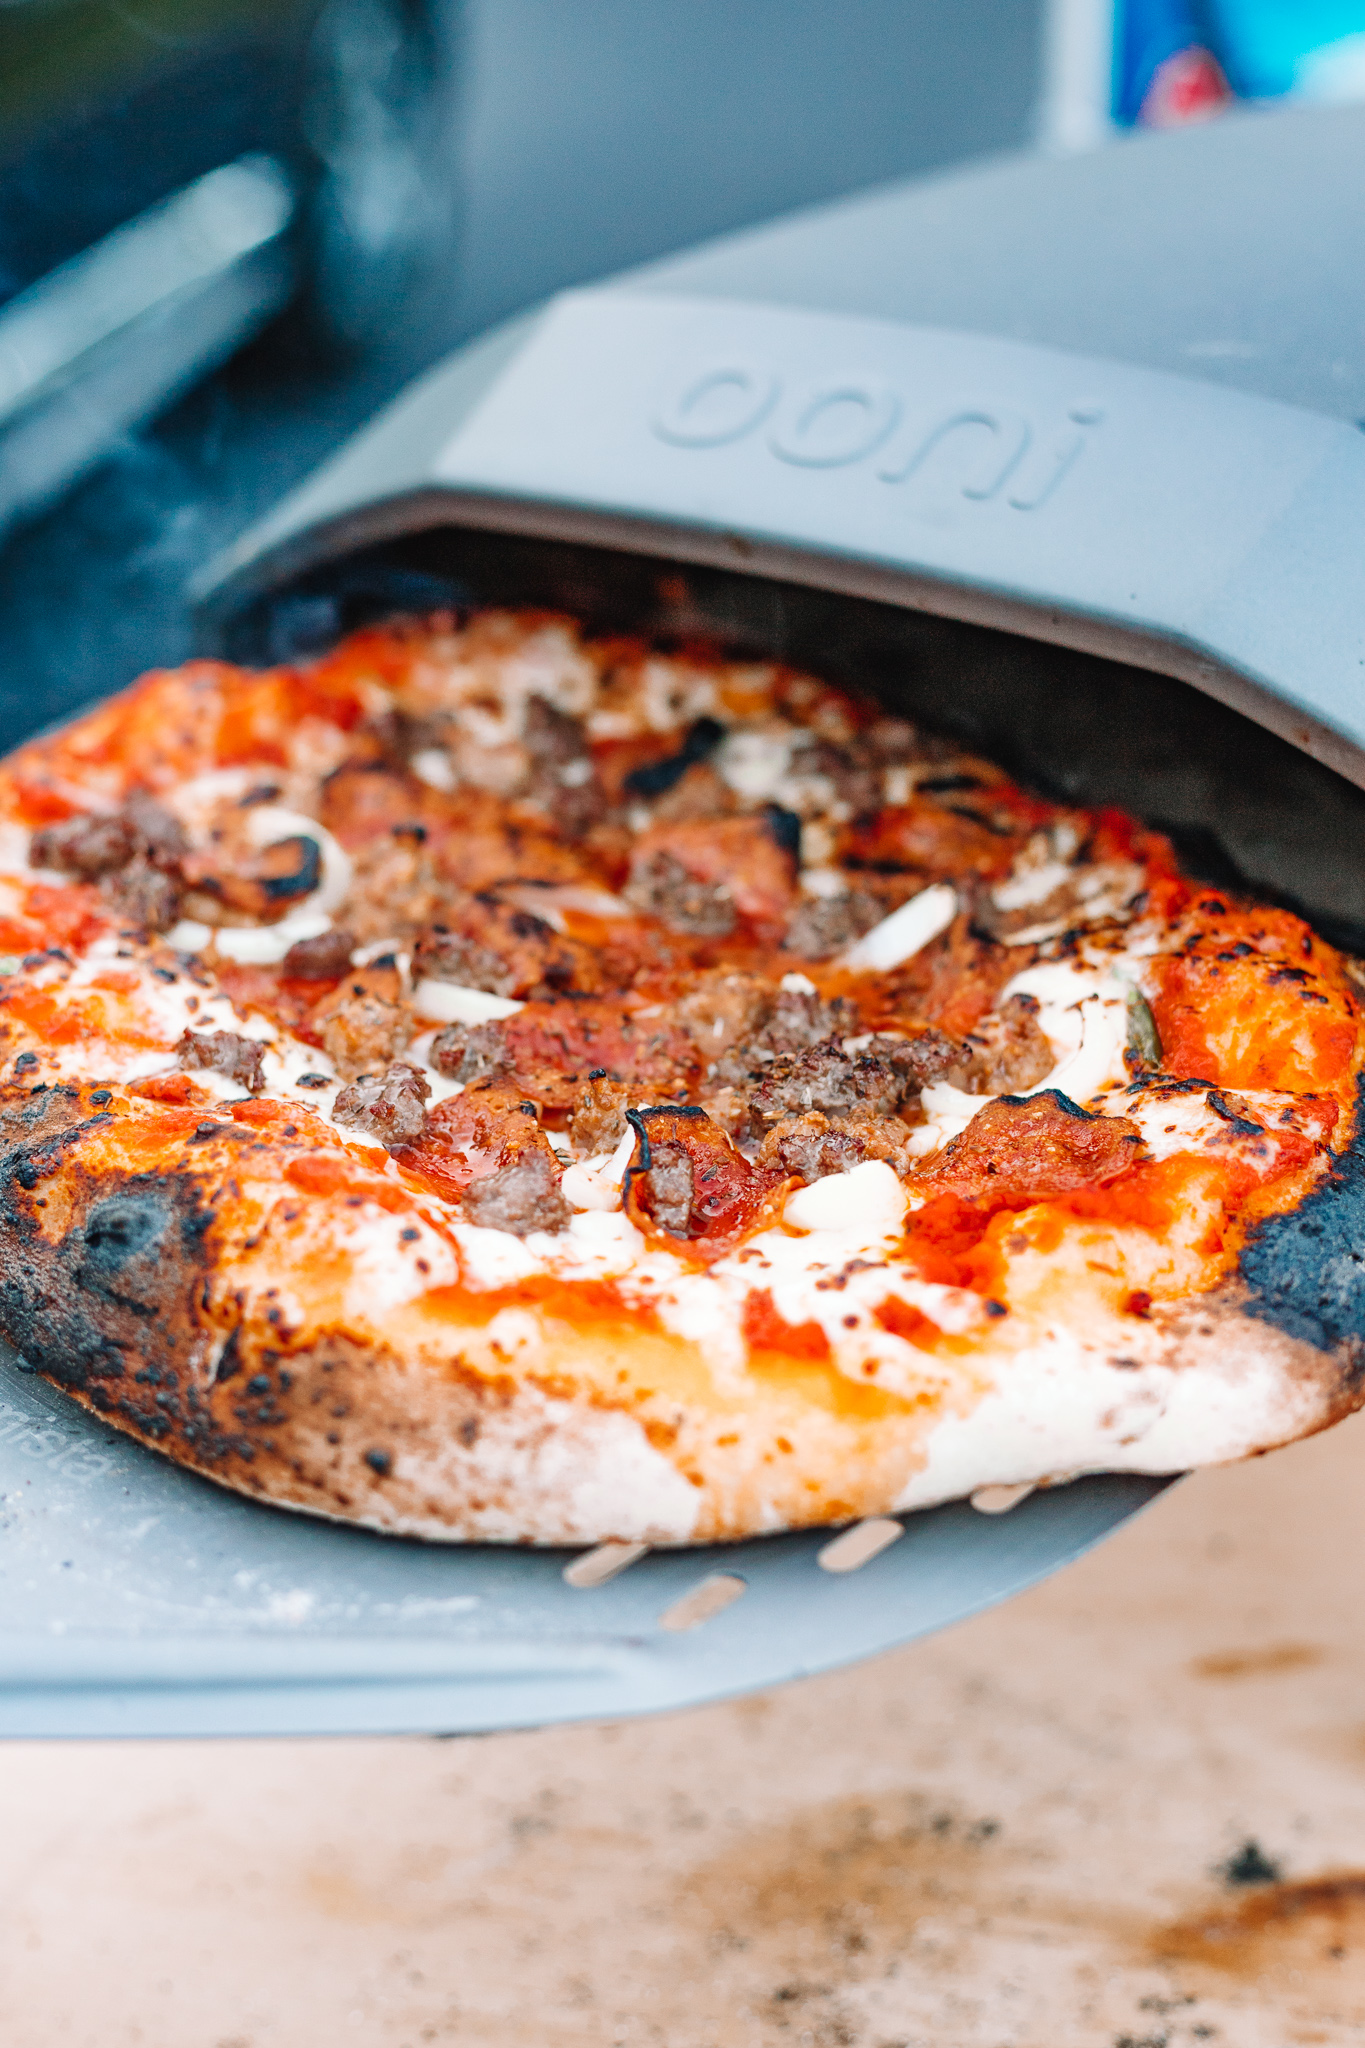
Verdict – Is it Worth It?
If you’re someone who enjoys cooking, hosting, having the latest and greatest gadgets, or wow-ing your friends and family, we think it’s definitely worth it! It’s very easy to set up as well as use and makes for great memories with friends and family. Basically, it’s a whole lot more fun to make memories making your own homemade pizza in the coolest pizza oven ever vs. throwing a frozen pizza in the oven. Kids would LOVE this – although because of the high temperature of the pizza oven, I recommend letting parents handle the cooking while kids watch.
One thing you should know going into it is that it takes a few times to get the hang of it. We’ve used it 4 or so times and are still learning new tricks that we didn’t learn the first time we used it. So, if you want to impress your friends, maybe try it on your own a couple times before inviting them over!
I hope you guys enjoyed this pizza oven review. If you end up getting it, please let me know! I can’t wait for you to enjoy the best homemade pizza ever. You can check out my other food posts here.


