One of my favorite things about the holiday season is trying out bold looks that I don’t normally attempt throughout the rest of the year. The holiday season is the perfect time to pull out your favorite red lip, your hairspray, and of course, party dresses, or that sexy jumpsuit. I’ve partnered with Toni & Guy to share my #BoldHairDontCare hairstyle that is equal parts bold, elegant, and easy!
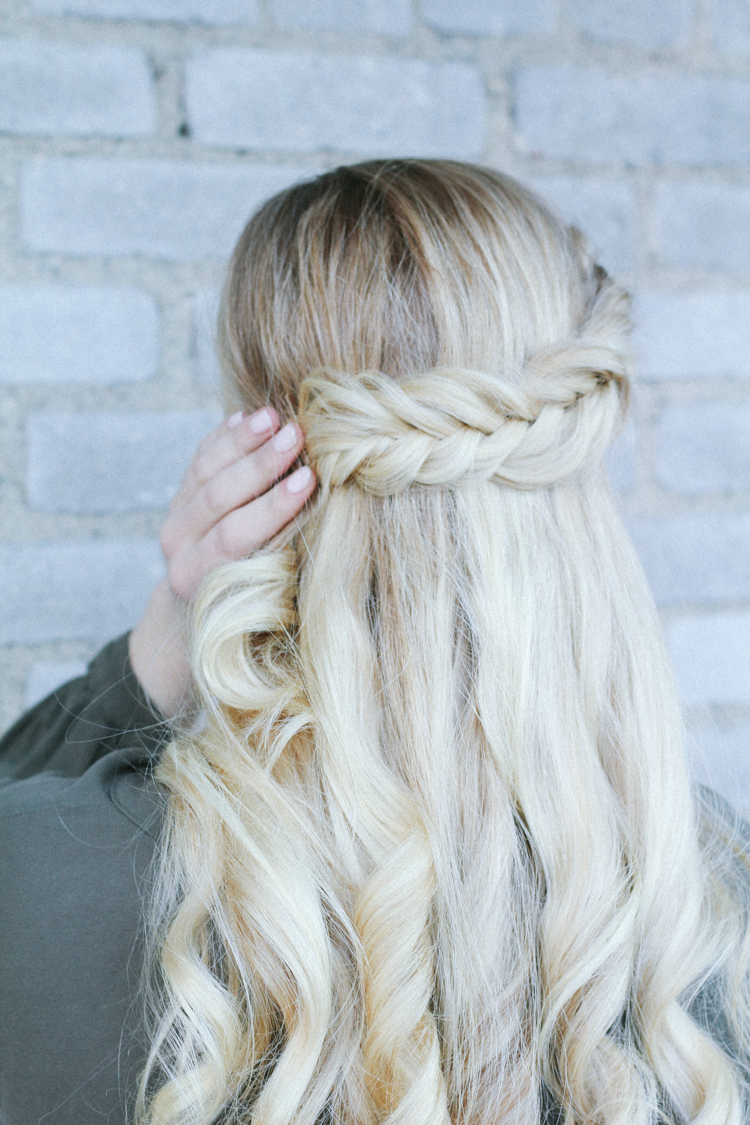
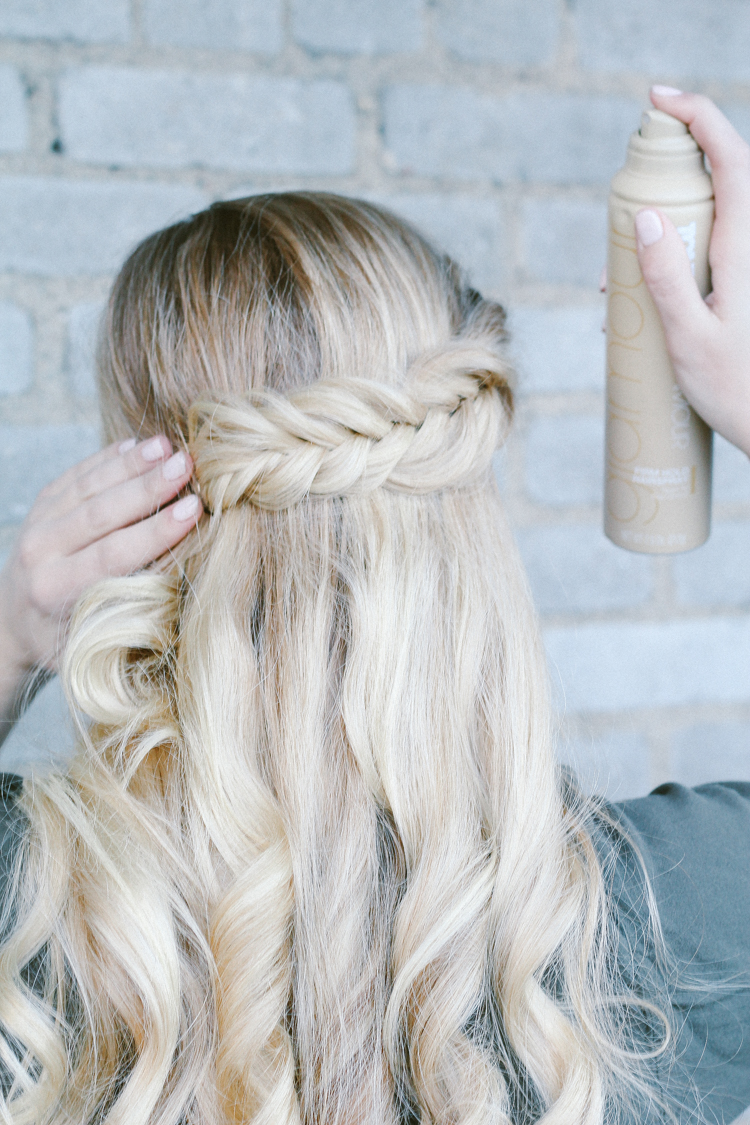
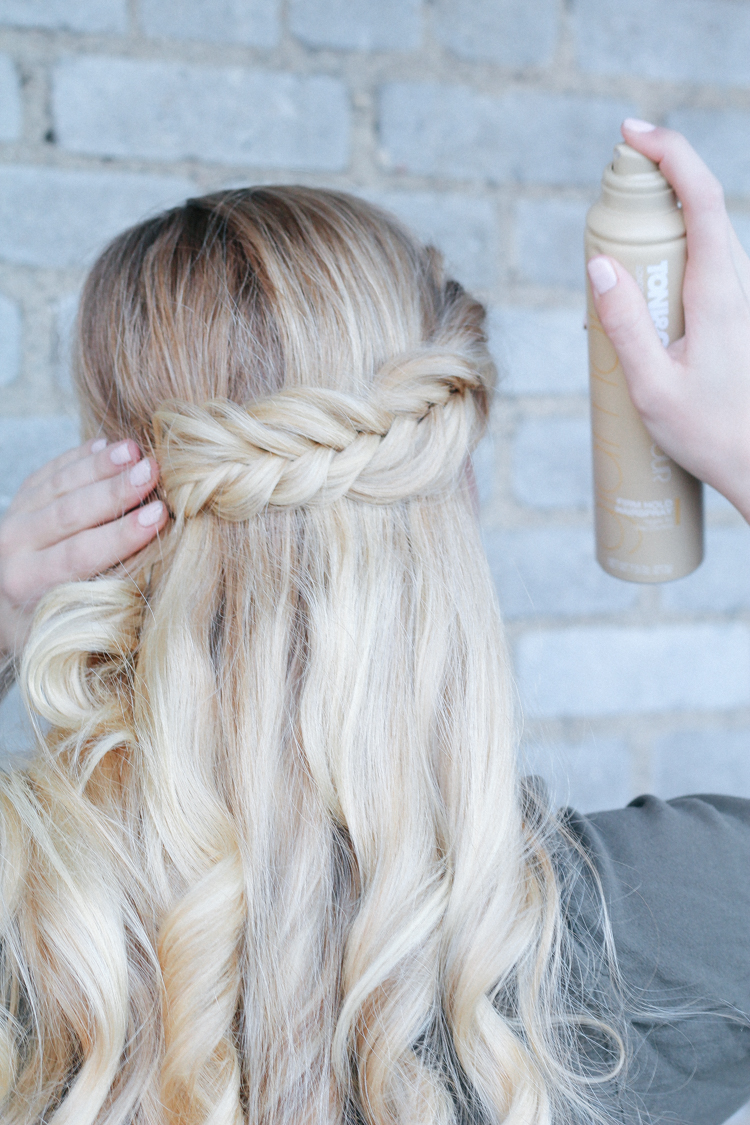
HALF FISHTAIL BRAID HOW-TO:
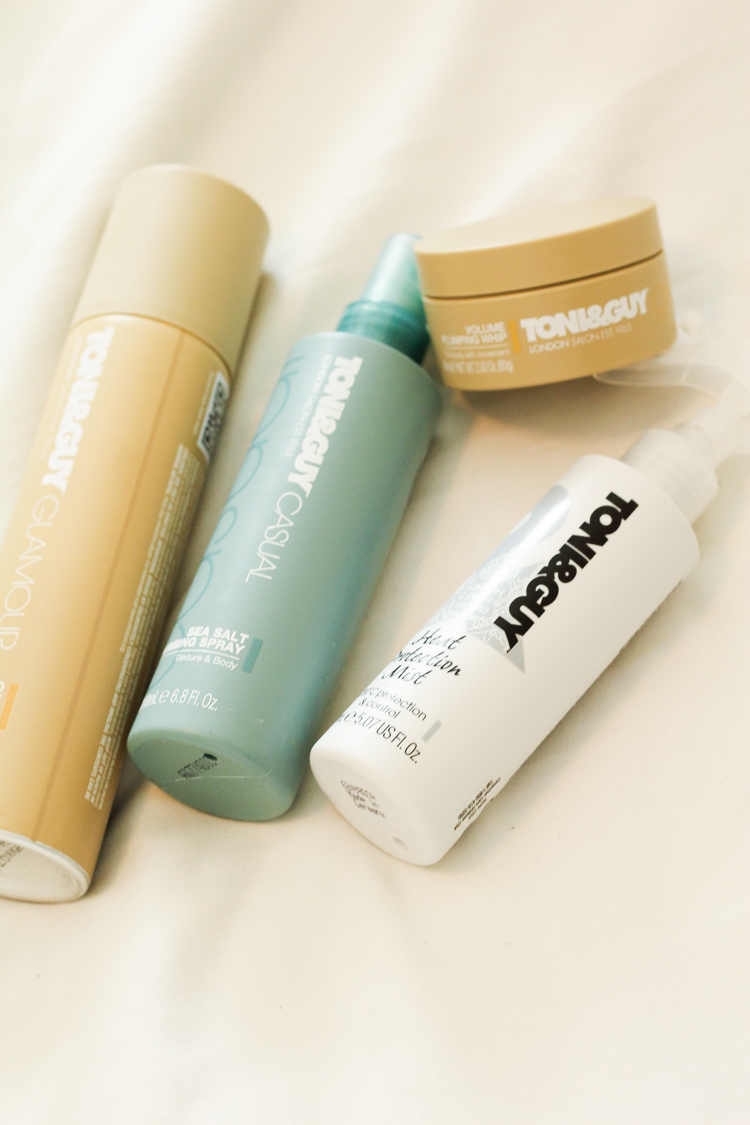
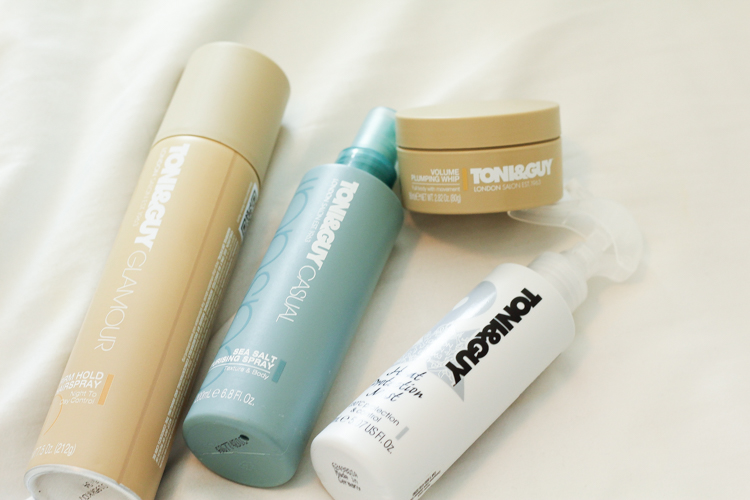
- Start with damp hair and spray Toni & Guy Heat Protection Mist & the Toni & Guy Sea Salt Texturizing Spray evenly through hair
- Apply a small dab of the Toni & Guy Volume Plumping Whip on roots as well as the ends of your hair (a tiny bit goes a long way. You don’t want greasy hair).
- Blow dry hair
- Curl your hair (I used the Beachwaver S1).
- Give yourself a side part
- Section off the hair on one side (I like to do the braid on the side of my head that has more hair).
- Choose a section of hair that looks about the size and thickness that you want your braid to be. Put the rest of your hair that wont be in the braid off to the side or secure loosely with an elastic to the side (so that it doesn’t get in the way).
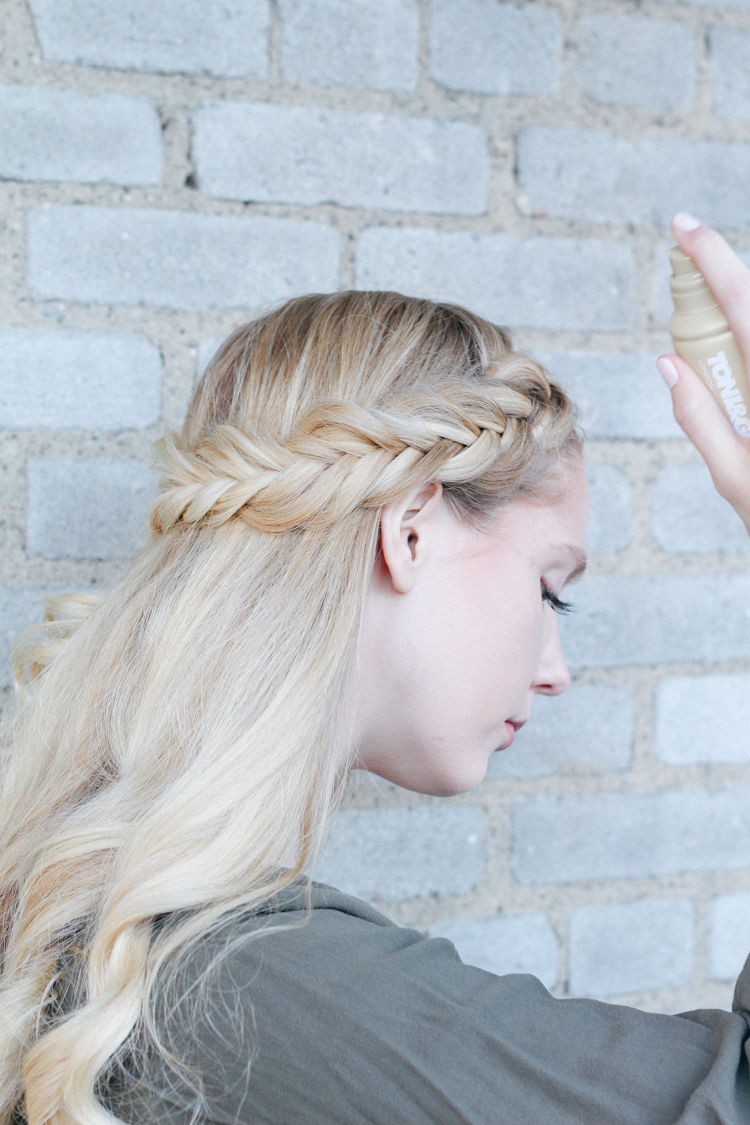
- Working at the very, very top of the section of your hair that will be braided, take two tiny sections. Cross the left side under the right side, and then the right side under the left side. Make sure you’re going under, not over, or your braid will not look like it’s “laying on top” of your head.
- After one or two rounds of this, you can start your fishtail.
- Take a small sub-section from the left section of your hair (but not the entire left section) and now add a small new section from the left side that’s underneath together (similar to french braiding). Cross this underneath and to the right side. This now joins the right side section of hair.
- Now, with the right section of your hair, take a small section of that right section and combine it with a new small section from underneath the right section of hair. Cross this hair underneath, and it now combines with the left section.
- Repeat, repeat, repeat, until you get to the desired length of your braid.
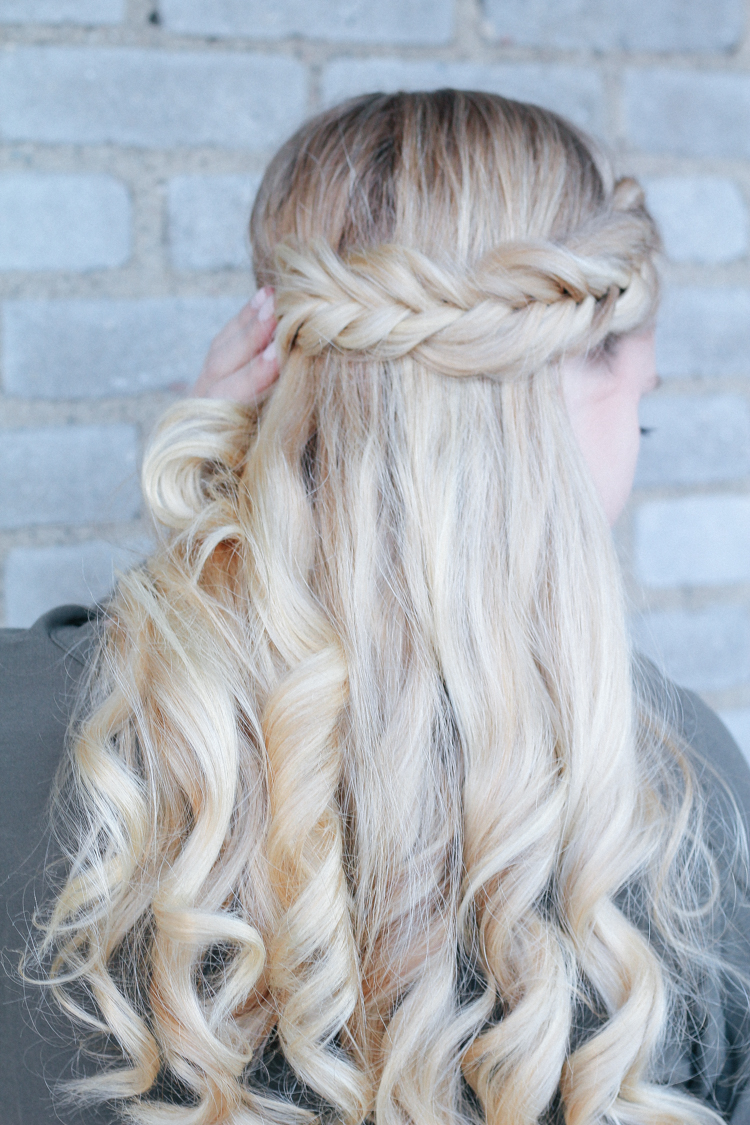
- I kept braiding until I had about three or four inches of hair on the bottom that wasn’t braided.
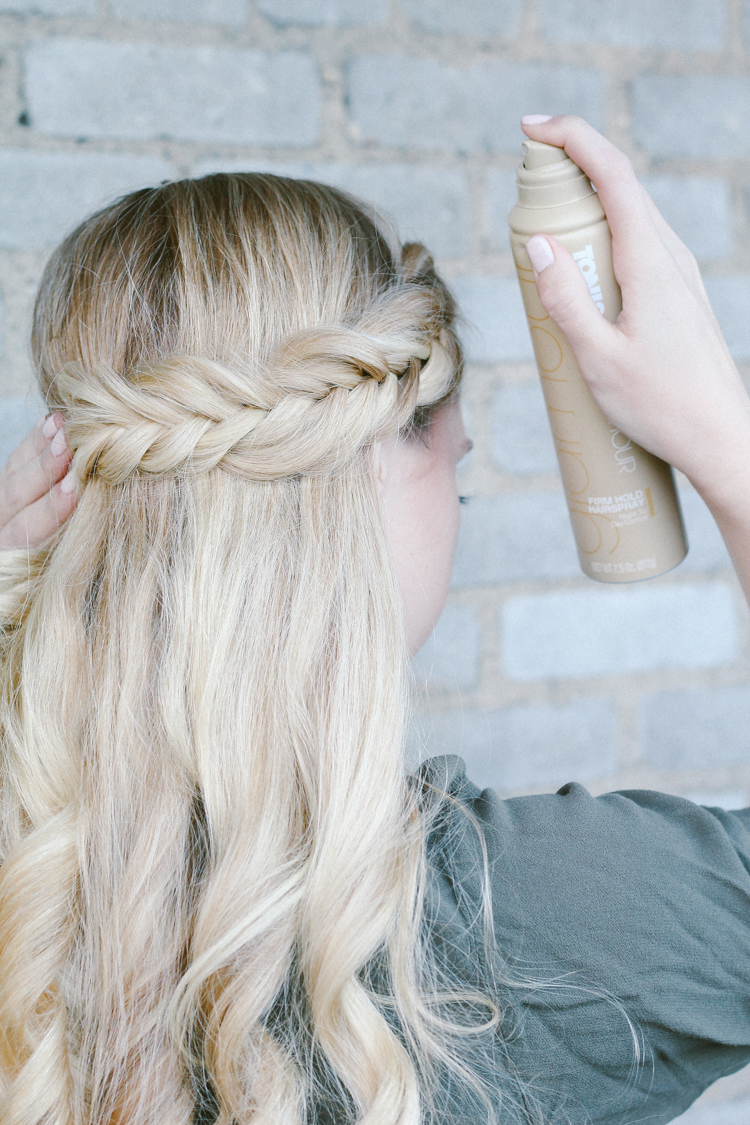
- The most important step (in my opinion)!!! while holding on to the bottom of your braid (without securing it yet), gently (starting at the top) pull out pieces of your braid on each side, to avoid it from looking slicked back and tight. I don’t like mine to look perfect! I like a little mess! Plus, if you have hair that’s on the thin side, this will make your hair look a bit thicker, as it will thicken the look of your braid.
- Pull back across your head and secure with bobby pins. If your hair is as thick as mine, you may need three or four.
- Pull hair from the other side on top to hide bobby pins.
- Finish with a few spritzes of Toni & Guy’s Firm Hold Hairspray
Confusing? I found this a bit hard to explain in words. Would you guys be interested in a video tutorial of how to do this? Let me know by commenting below. Believe it or not, I didn’t always know how to braid hair, and I’ve read articles and watched YouTube videos in order to teach myself. Plus, practice helps 🙂 Don’t be bummed if you don’t get it the first try. Mine didn’t look good the first try either!
Also- share your #BoldHairDontCare looks and hairstyles by using the #BoldHairDontCare hashtag on social media channels to be entered into the running to win a Rent the Runway gift card (and who couldn’t use a new dress for NYE?!)
Thank you to Toni & Guy for providing the hair products for this post. As always, all opinions are my own. Thank you for supporting the brands that make Brunch on Sunday possible!

